Showing posts with label tutorial. Show all posts

Thursday, September 29, 2011

Autumn Wreathes


PhotobucketPhotobucketPhotobucket

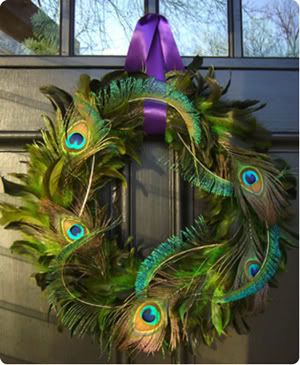
Check out these beautiful Autumn Wreathes I found on Etsy. I've really only been one to put up a wreath around Christmas time but after seeing these stunning peacock wreathes I am a changed woman. I absolutely love them and they are perfect for fall!


A few days later I stumbled upon this beautiful peacock wreath tutorial over on Pinterest. After saving it in my favorites I followed the link over to a tutorial! Yaaaay! Check out HGTV's Peacock Wreath Tutorial here. I foresee peacock feathers and round shapes in my near future.

Wednesday, September 28, 2011

The Beauty Department

Via

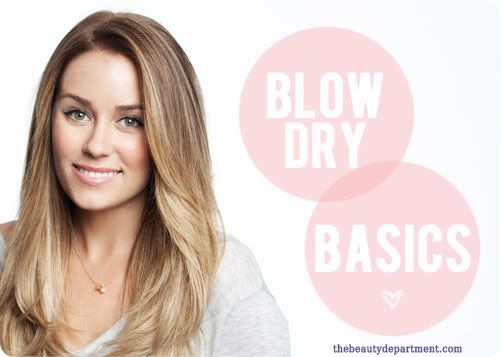
I've been pretty active on Pinterest this past week and from there I stumbled upon thebeautydepartment.com which is a beauty blog run by a few gals including Lauren Conrad. Now, I've never been a fan of The Hills and could care less about her public appearances or drama. But I have to say the tips left by her and her crew have given me new light. Thank you Lauren Conrad, Kristin Ess and Amy Nadine. Reading your blog has led me to have amazingly beautiful and voluminous hair. I would spend hours trying to get my lifeless fine hair to do something other than lay flat. Now I have amazing hair in 10 minutes.

Their blog not only features step by step photo tutorials, but also some video ones as well.


This tutorial I felt was very insightful. For someone that knows zilch about hair care and styling products...I feel so dumb to have never considered using a large barreled curling iron on my hair. I had curling irons growing up, but they were small and used only on special occasion for curly ringlets. Welcome to the 21st century Tori! I guess things that are out of sight really are out of mind. Either way, I will have fabulous hair from this moment on!

Sunday, February 20, 2011

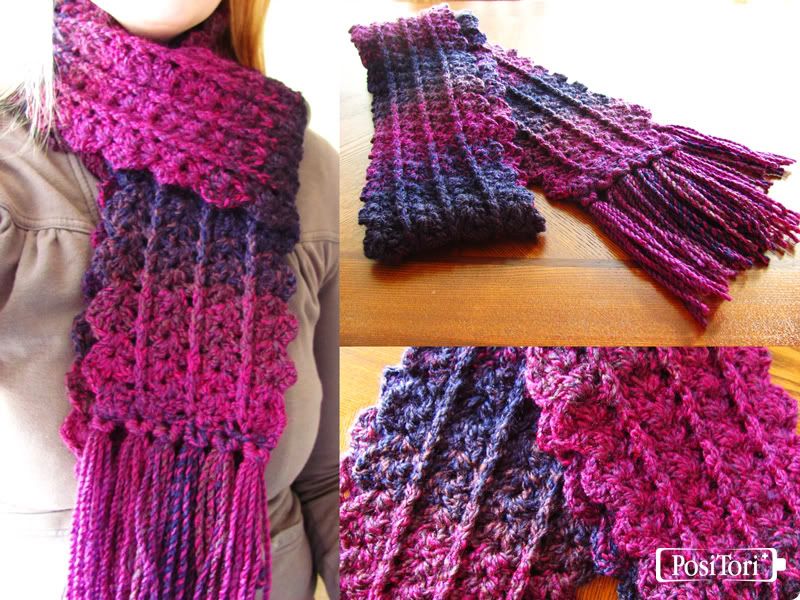
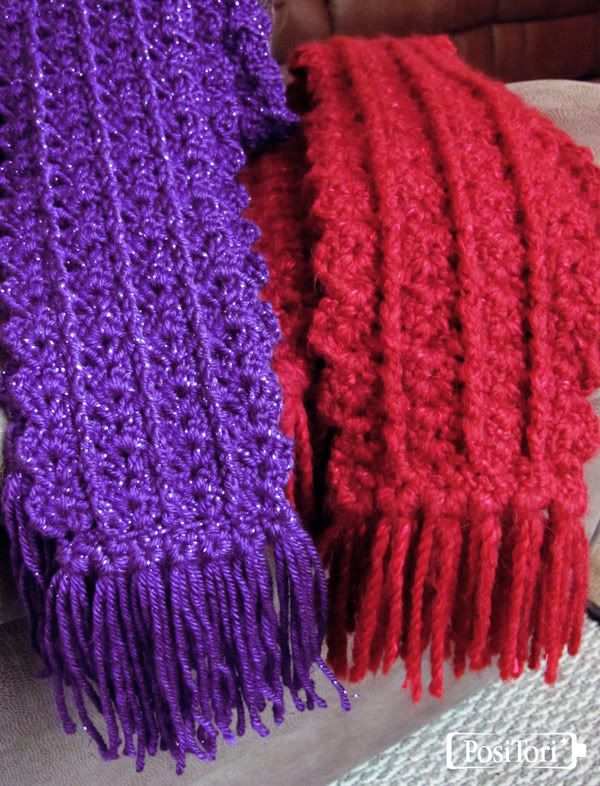
Free Crochet Pattern: Zip Line Scarf


Free Crochet Pattern: Zip Line Scarf

Gauge: Not important. Judge by your yarn weight. I used an H for my medium worsted yarn. I recommend an I or J for chunky yarns.

**Remember The chunkier your yarn, the thicker and wider your scarf will be.

Stitches Used:
ch – Chain Stitch
dc – Double Crochet
slst – Slip Stitch
fpdc – Front Post Double Crochet
bpdc – Back Post Double Crochet
Shell - Shell Stitch (2 dc, 1 ch, 2 dc in same stitch)

If you are unsure how to make a fpdc or bpdc I recommend looking up the stitches on youtube.

*This scarf takes roughly 2 skeins of yarn. I use about 340 yards. *If you use specialty yarn that is less around 100 yards a skein, I recommend getting 4 skeins.

*Note. After finishing with your first skein of yarn, I recommend cutting your fringe. It will lay nicer if the yarn is cut from the top of the skein. Towards the end the yarn gets curly. I cut 4-5 strands for each set of fringe, depending on yarn weight. You will need 12 sets of fringe.

*We will first be creating loops. These are important because they are used to attach the fringe to the scarf. The double crochet is also important, it acts as a filler stitch so there will be no gaps.


Pattern:
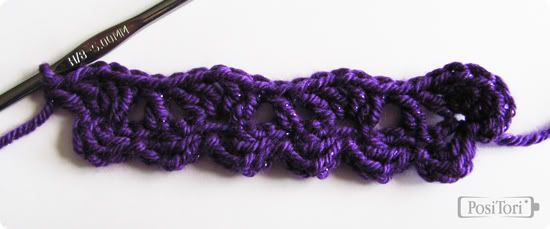
1. Ch 19. (Leave a long tail, it will be tucked and blended into the fringe later)
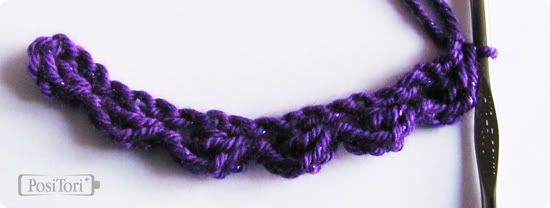
2. Ch 3, dc in your original 19th stitch. (4th chain from hook) Skip 2 ch, slst in 3rd ch. *Ch 3, dc in same stitch, skip 2 ch, slst in 3rd ch. Continue from * to end. (you should have 6 loops total)


*Do not turn, instead continue on the top stitches of your original 19 chains.

3. Ch 3, Shell Stitch into first chain (ch will be connected to your slst knot), *skip 2 ch, dc, skip 2 ch, shell, Continue from *. (Last stitch should be a shell), Turn.


4. Ch 3, shell in first shell stitch gap. (the chain between your dcs), *bpdc around next dc, shell in next shell stitch gap. Repeat from *. Turn.
5. Ch 3, shell in first shell stitch gap, *fpdc around previous stitch's bpdc, shell in next shell stitch gap. Repeat from *. Turn.
6. Continue alternating bpdc and fpdc pattern until desired length.

F.O.
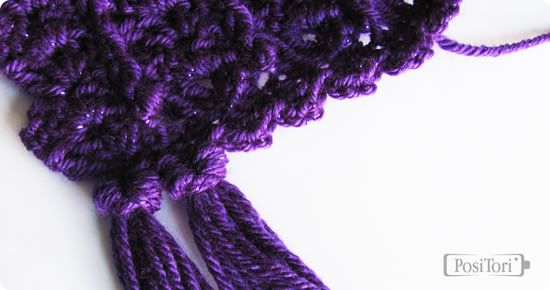
7. Ch 3, *dc in same stitch, skip 3 stitches. Slst in next stitch. Ch 3 repeat from * to end. (last stitch will fall on outside chain stitch)

8. Attach Fringe through the chain loops only, don't pull fringe through the dc's.


This scarf makes a great gift for family and friends! Or just make one for yourself! It's really easy and relaxing once you get the hang of it. I love this pattern and I hope you will too :) I also put this pattern up on Ravelry. If you make one I'd love to see it!

For Personal Use Only Please. :)

PhotobucketPhotobucket

Wednesday, January 26, 2011

Luna Lovegood's Jewelry.


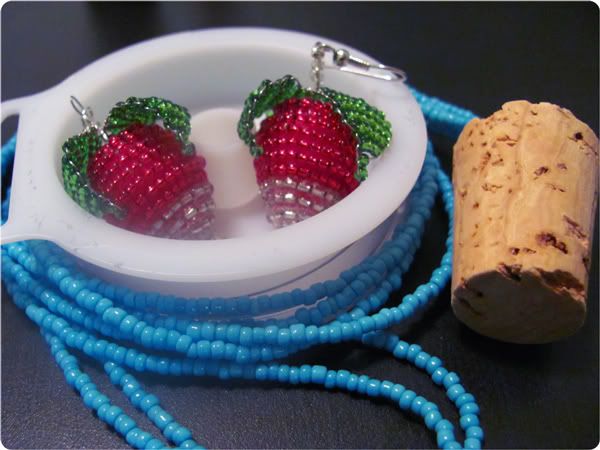
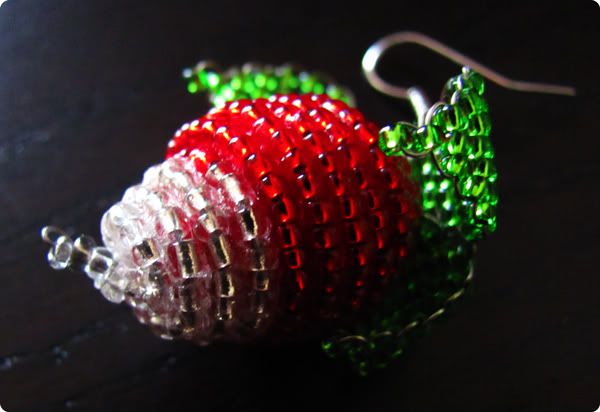
I crafted Luna Lovegood's jewelry for my costume durring this past Halloween. They were a pain in the butt, but came out marvelously! Did you know the actress who plays Luna constructed her pair herself! I knew there was a way I could make my own pair, I just had to figure it out. And so, I want to share some of my WIP photos and explain a little how I accomplished those complicated Dirigible Plums.


PhotobucketPhotobucket


It was important to me that I had round earrings. So, I started by winding a small piece of red yarn to use as my base and I secured it with some fabric glue. I then took a needle and strung the bead wire though the center. You will have 2 wire ends. One you will string beads, the other is used to connect to the actual earring. So leave enough to work with. Next, I started winding the clear beads from the bottom. This is actually the most difficult part. Getting your wire to wind in such a small circle. I used fabric glue to adhere the beads to the yarn. It's the only way to get them to stay. It actually works really, really well. Once at the top I wound the beads as closely as I could. I cut my wire and try to tuck it into my yarn base, and secure it with glue. Now you have only 1 wire end left.


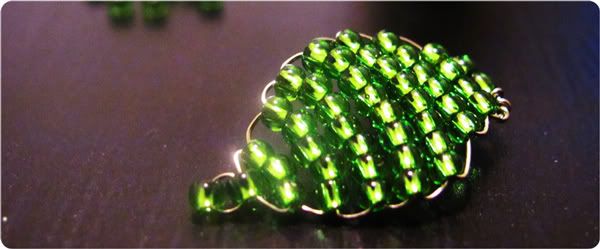
I used a different type of wire for the leaves. One that will hold when bent. I then constructed the leaves, they have a small loop at the top center. I looped them onto the remaining wire. I didn't really follow any particular pattern, they just needed to resemble leaves. I shaped the wire to my liking. I added a few beads to my wire and then looped the wire around the earring. I used a small closing bead (the ones you can crush with pliers) to secure it, then tucked the remaining wire into those last few beads.

I hope this is a bit insightful. If you're wanting to tackle this project yourself, feel free to message me with any questions. I'd be happy to help!

It was also important that I got her necklace as accurate as I possibly could. I think I did a pretty fine job. I've been selling Luna necklaces in my Etsy shop. Keep checking, I'll be relisting them soon.